Just liked to measure the weight “as is” including shadows :
Claudio, in the photos you posted (above) when I enlarge, it “looks” like you might have used staples to hold strips to station template - or are they pencil marks ? I was looking at the close up of the scale photo.
Didk
Hi Dick, are pencil marks when I was counting the stripes.
Repair action underway !
For those who are interested like me ! Navigating on the Web I managed to collect some data on the Glass fabrics Weights and Thickness commonly used for our models. I shall search for Carbon fibers ! Off course resin thickness is not included
Updated with Carbon fabric data
Very useful, Thanks Claudio.
Hopefully, you didn’t have family or friends in Paris over the weekend. Condolences to France and it’s citizens and visitors for the weekend violence. Prayers for all from here in the US.
Dick
P.S. circular saw blades are in the mail.
Thanks a lot Dick I appreciate very much.
We in France we are very grateful to USA and the rest of the civilised World for the touching expressions “Blu-White-Red” !
Some family relatives sitting in Paris were not involved fortunately.
Toulouse city is also another target due to AirBus Company and several Space Industries and numerous Malls.
Actually we are all afraid to go shopping …very bad situation !
Thank you again for the circular Blades
ClaudioD
Stay well and safe my friend.
Dick
yesterday and today I epoxy /glass coated the interior of the two halves.
Tomorrow I will start the momentary coupling operation.
Building process continue.
Hull halves joined with 2 mm balsa spacers and UHU hart
Today, I was looking at the web, in hopes of seeing more information on building hulls for a 2 meter catamaran. As I was looking and searching, I ran across a series of articles on building/racing the 10 Raters down in Australia (as I recall). Of interest is that a few builder/sailors are using a double luff mainsail (and also jib double luff too). It appears from text a photos, that the double luff is a wrap-around cut with a straight luff curve - and the the remaining sail material behind the end of the luff, is merely a flat panel. It is not a paneled sail, but one competitor (as I read it) used a total of 15 full length battens, I need to research that more, as he indicated, by untaping and retaping the double luff, it was easy and quick to adjust the entire sail. I believe, I will attempt to contact him for more clarification. Just thought the info would be interesting to those building a 10 Rater.
Hi Dick, the wrapping envelope around the mast should increase efficiency by reducing drags/turbulence presents behind the mast. The sail surface calculation include the envelope. Not easy to deal with since holes are needed to let space for spreaders and shrouds including during boom rotation. For the jib, the envelope is often used in several model category. Cheers ClaudioD PS. Most of RC land sailing use this type of sails: http://www.rclandsailing.com/photos.html
In the past I did it with my Studio3, a Class M, see pics.
Results not very impressive. Luff envelope sliced to allow mast bending, no shrouds, Swing Rig.
Coming back on this forum from a very long pause, seeing almost no activity on it and no post from Claudio for three months made me think that it was an abandon ship. I am very glad to read that you are getting better now and surely hope that you will be up for a marathon in a few months. OK, half a marathon.
I understand that this 10R Esterel built won’t resume soon, and maybe never as you are always cooking new concepts. But I am very intrigued with the veneer technique proposed on the 3rd drawing in post #47. How can you possibly cut, adjust, apply, and hold properly veneer panels (or stripes?) on a wet surface? It seems feasible on a 2D curve, but on a 3D surface? It eludes me, even if you’re saying that the first layer of f/g is supposed to be cured.
I understand that a thin veneer can be bent easily (at least in one direction). But it can’t be stretched or tightened on its plan to perfectly mold the 3D surface. It seems that a good amount of panel fittings is involved. But maybe I am wrong since I never played with veneer.
Can you give us an armchair preview of the technique?
Salutation à Claude and Happy sailing to everyone!
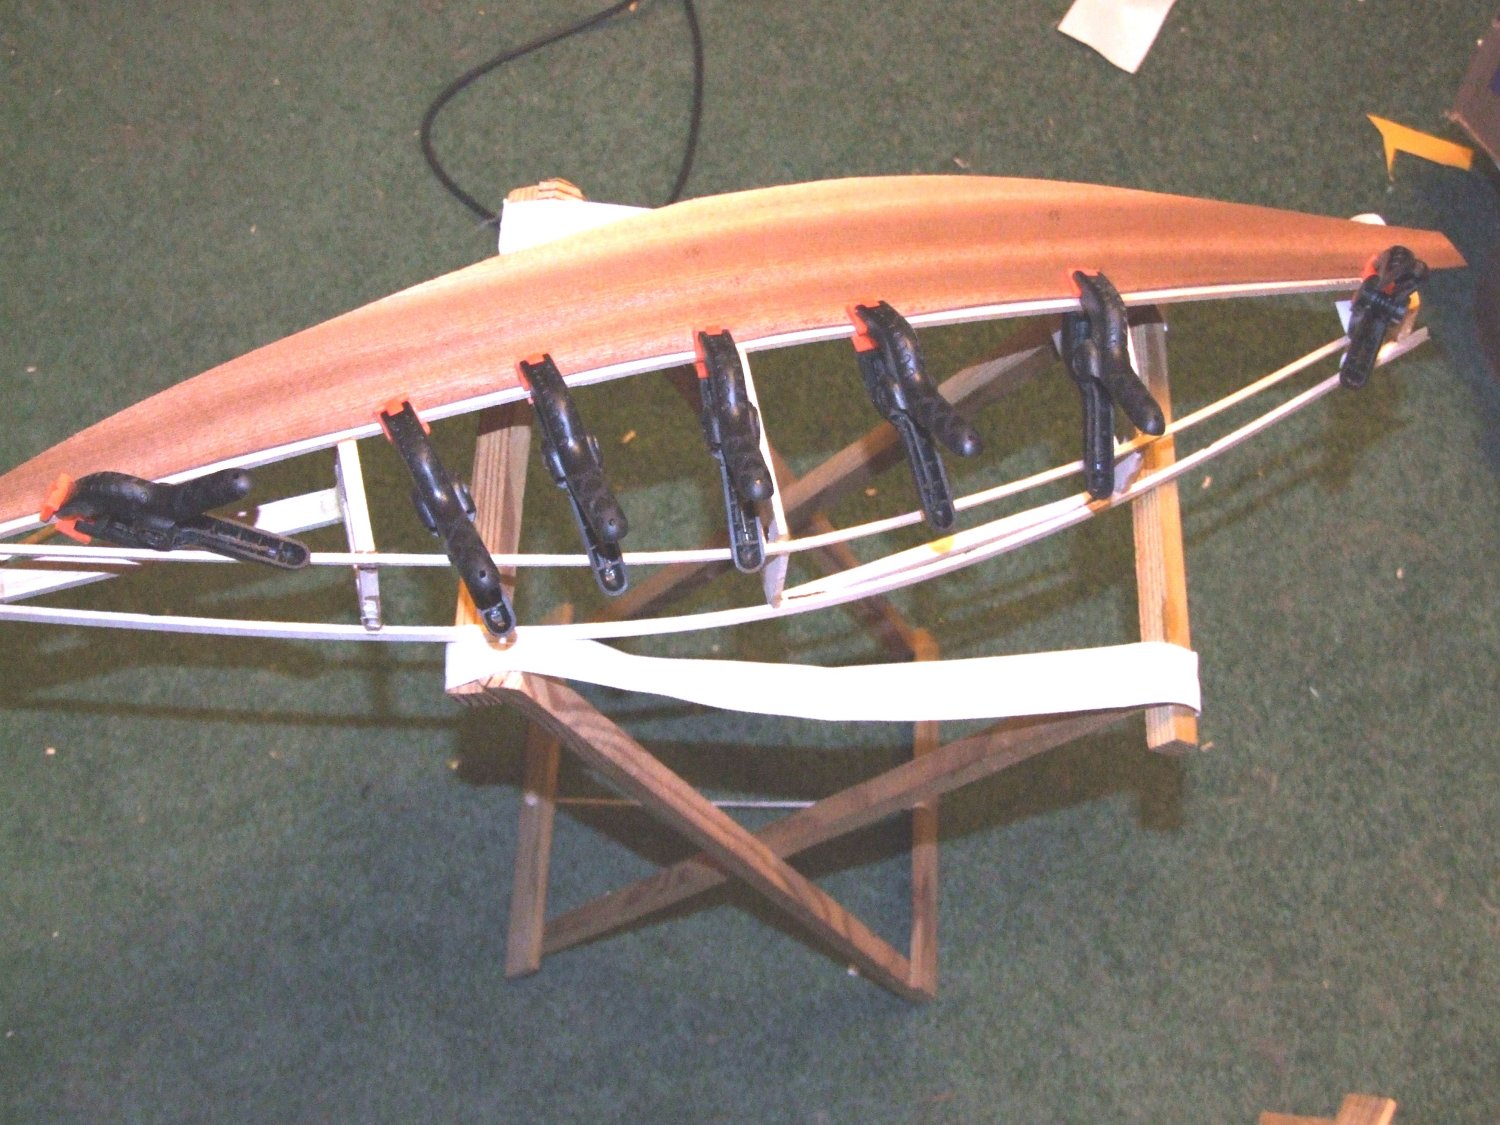
Symount - Hi and welcome back. I will jump in here as Claudio is still doing recovery from surgery. I am restoring (slowly) a Marblehead and am applying veneers over a (questionable fiberglass hull). If you apply strips (mine are about 5 cm wide) at an angle, you can have the veneer bend in two directions. I used a veneer with glue backing, and a heat iron (like airplane builders for film coatings) to heat and activate the glue. When I get to places where the bend is tight, I use blue masking tape to help hold it in place until the thermal glue sets up. I do have some strong commercial spray glue, that I can mask area to be sprayed and then apply the wood veneer - with or without using heat. Optional is to cut veneer strips lengthwise and maybe 1/2 to 1 cm wide and glue up over the glass hull, much like building with balsa strips. Unless you have and use a vacuum bag system, and steam a sheet of veneer, it is almost impossible to use a single sheet to cover an entire hull - too many compound bends. Attached are some photos of my Marblehead strips applied. When done, I will lightly sand the strips, stain with a WATER based stain, then coat with clear epoxy. Any small spaces between the strip edges will be filled with epoxy and red micro-balloons (to match stain and mahogany color. This will take care of any gaps between strips and also seal water from getting behind the strips between glass hull and strips.
I got the hull for the price of shipping from the east coats to middle of country, so my only cost so far is the strip material which I got off eBay for about $20.00. I think I will need more as it came in 20 foot length and I didn’t know how much I needed. The boat when done will NOT be a racer, as the design is from the 1980’s but will make a nice looking day-sailor. Keel blade and rudder will be strip built and shaped Western Red Cedar. I have a carbon mast, for starters, but will build a wood strip mast if I like the way it sails.
Dick
Hi Symont and Dick, as already explained by Dick, narrow stripes are cut out of a veneer sheet.
My first Class M - Studio 1, in 2003, was built in the same way, the stripes were of 1.5cm about. This series of pictures show the construction detail, unfortunately at the end the weight was going out of control because of the double layer and the SDtudio 1 came out with 550g more then required.
Today out of the master, the first layer will be FG and then only one layer of veneer followed by a couple of FG layers.
Cheers ClaudioD
Thank you Dick and Claudio for the clarification. I was not picturing the end result properly (at all in fact). Now it makes sense.
And nice work, as usual!
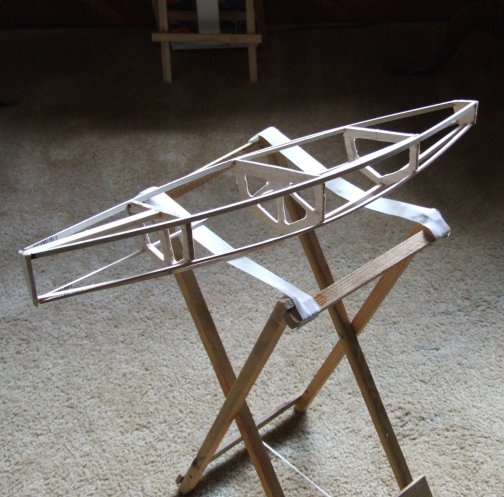
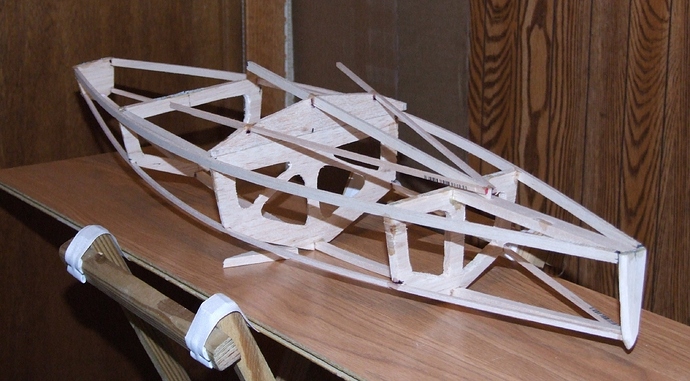
Sylvain, with many of the 10 R’s that I have seen, the use of flat panels can be done so you get hard chines. I did a flat panel RG65 (based on the original JIF65 plans ) and started with a set of cross stations, and then a few stringers to provide the lines of the individual panels. The design was for a basic four panel hull. Using the concept from Claudio’s boat (above - stringers and cross stations) you could build a 10R with multiple flat panels for the bottom of the hull. It would provide you with a hull with multiple panels (maybe 6) and probably reduce some hull drag, allowing the hull to be more “tender” (heeling easier). While not a “true” rounded hull bottom, it does move away from a hard chine, very flat panels.
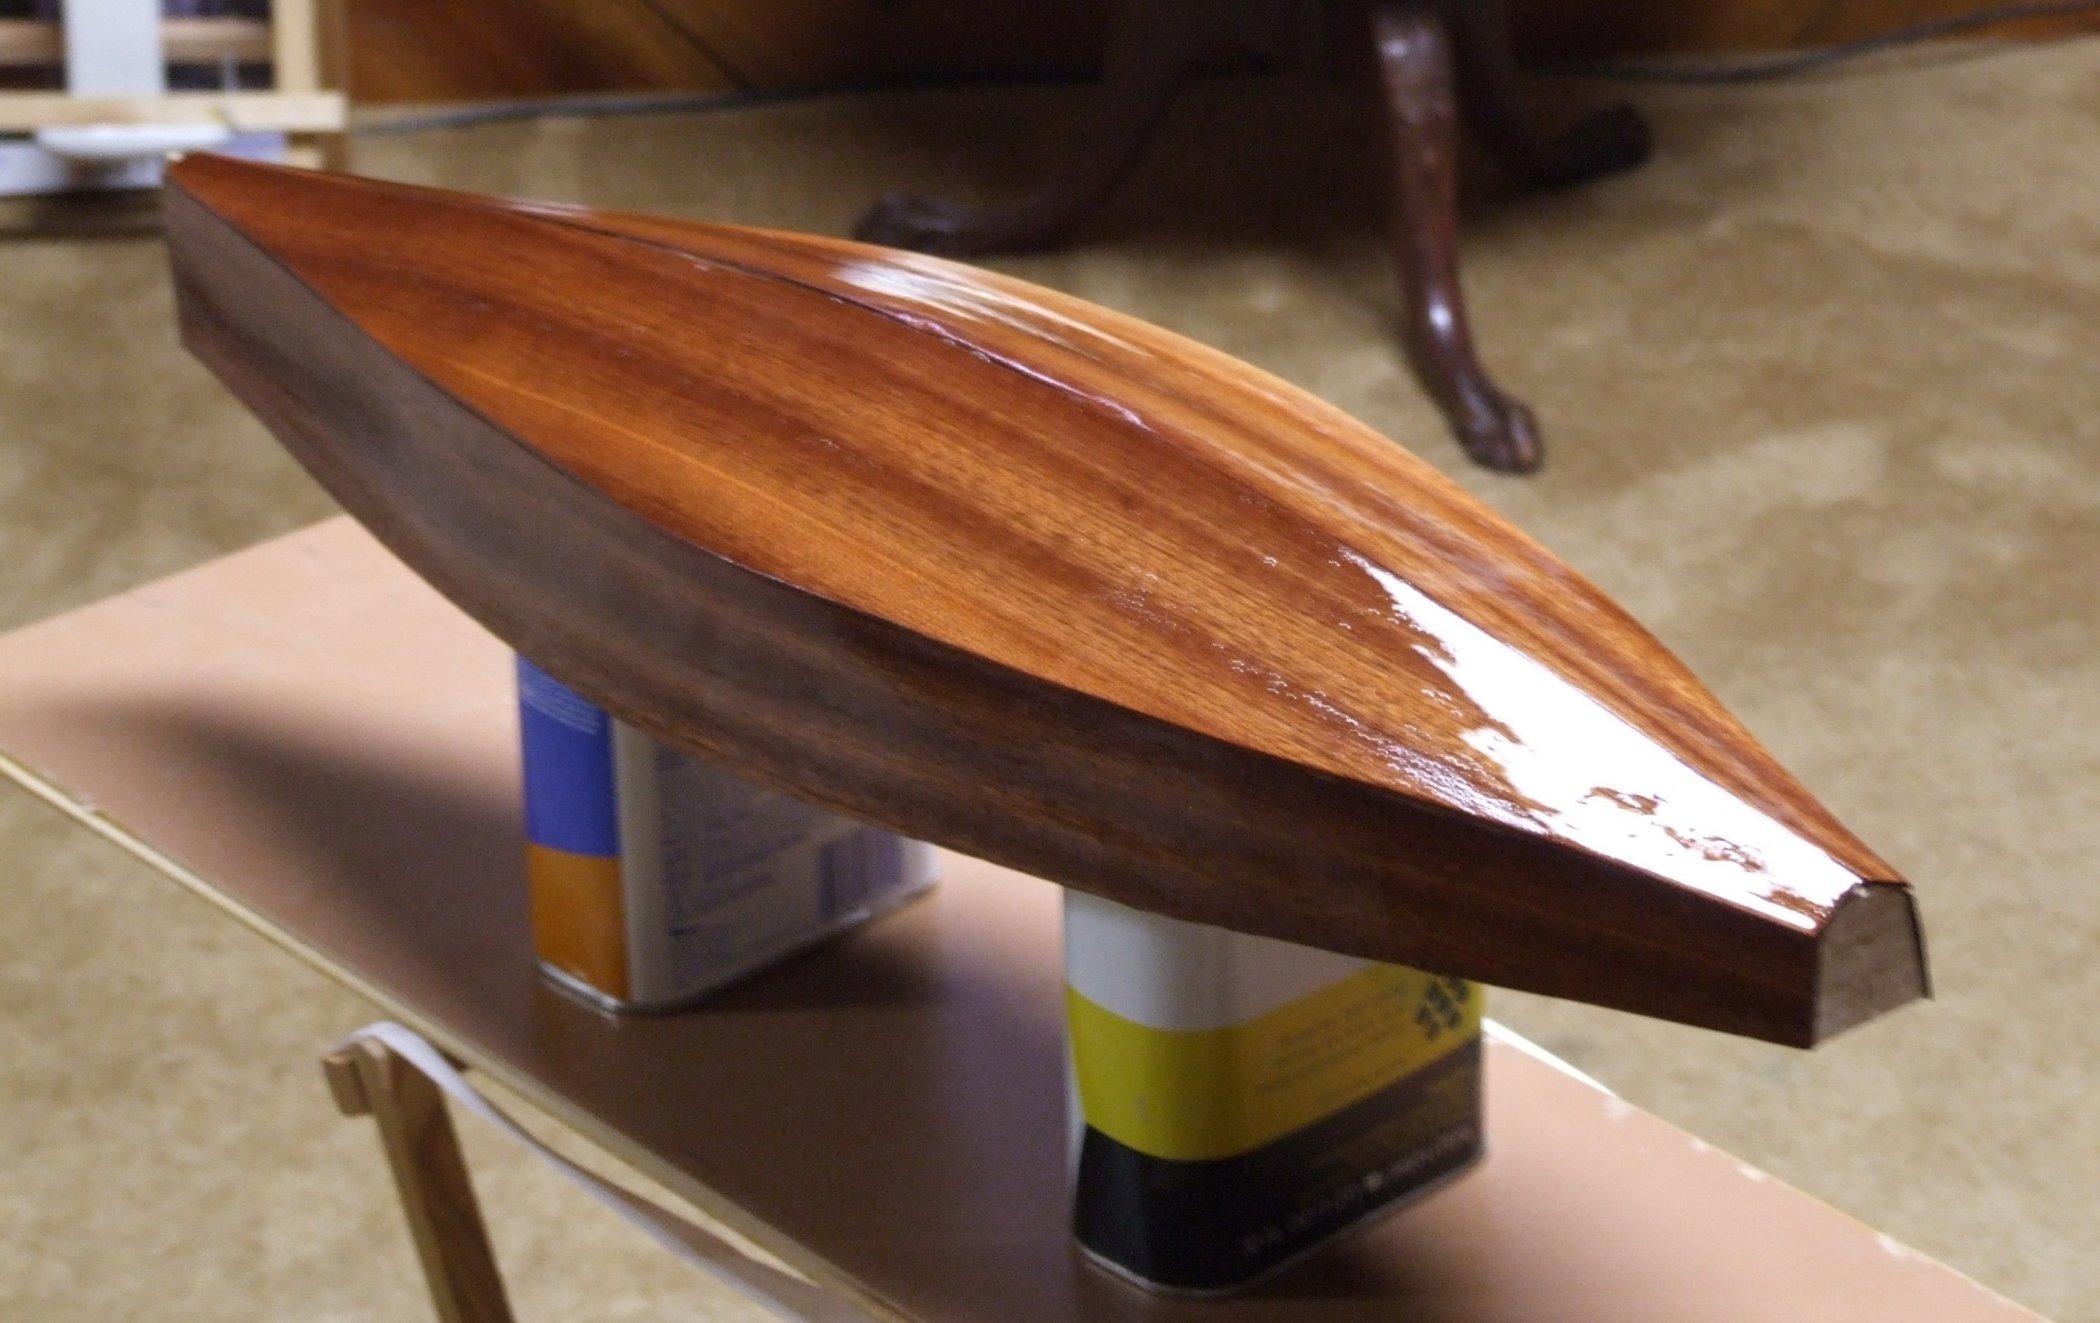
Again, photos are of my RG65 that was stringer construction and flat veneer panels.


Dick
